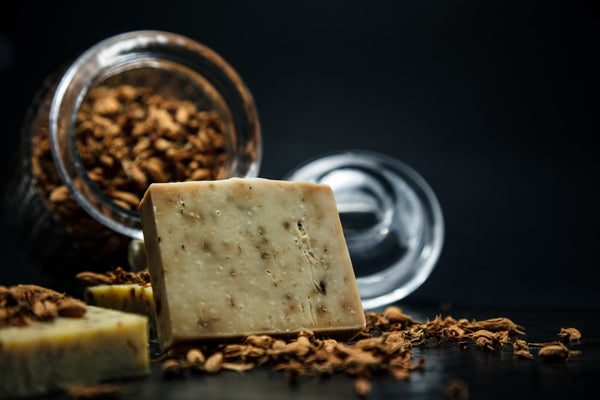
Making homemade soaps is a rewarding activity as it allows you to have complete control of the process, and you also have peace of mind knowing what’s exactly in your soap in the modern world of chemical additives. The process of making homemade soaps may seem overwhelming at first, but once you make the first few batches, it becomes second nature.

Choose a Recipe and Fragrance
After reading blogs and books regarding homemade soaps you will probably have lots of recipes that you would like to try. However, if you are new to this, then it is recommended that you start with a simple recipe that doesn’t involve a lot of capital investment. For fragrance, you will need essential oils. When choosing essentials oils, make sure that you choose natural and pure oils, e.g. clove, rose, lime, sweet, orange, lavender, etc.

Gather Your Tools
Following are the tools and ingredients you will need:
• Gloves and protective goggles
• Soap molds
• Pint canning jar
• Quart canning jar
• 3/4 cup cool water (use purified or distilled)
• 1/4 cup lye – also known as sodium hydroxide
• Olive oil 2/3 cup
• Coconut oil 2/3 cup
• Other liquid oil 2/3 cup, e.g. sunflower oil, almond oil, etc.

Melt the Base
Start by covering your area of work and putting on gloves and other protective wear. Next, measure your water into the quart canning jar and then measure your lye. You want to make sure that its exactly 1/4 cup. Now pour the lye into the water while stirring with the spoon. When the water begins to clear, let it sit for a while before moving to the next step. The chemical reaction will generate heat that will melt the base.

Mix in the Fragrance
To mix in the fragrance, use the pint jar to add your chosen essential oils together. Then heat the pint that is made in a microwave for about a minute. Be sure to use a soap-maker thermometer to keep an eye on the oils’ temperature – it should be about 120°F. Afterwards, wait for the pint to cool at about 105°F. This is very important because if the temperature is too low, the soap will become crumbly and coarse.

Fill the Mold
When both the oils and lye are at the right temperature, it is time to fill the mold. You can do that by pouring the oils into a mixing bowl and then slowly adding lye into it. Stir the mixture for a full 5 minutes with any spatula or spoon that is heat-resistant. For best results, try to get as much of the lye in contact with as much of the soap as you can. The soap mixture will eventually become thick and lighten in color. Now you can let it cool.

Cool and Unmold it
Let the mold cool for 24 hours. After that time period, check your soap. If it’s still soft or warm, let it sit another 12 or 24 hours. When its firm and cold, turn it out onto a baking rack or a piece of parchment paper and unmold it. Then let the soap cure for about 4 weeks. Be sure to turn it over once a week so that all of its sides are exposed to air. When the soap is fully cured, keep it in an airtight container or simply wrap it in wax paper. This will prevent the soap from attracting debris and dust.
Photos by: Christian Mackie, Paul Gaudriault, Anna Shvets, Sarah Gualtieri, Sheri Silver

